Wednesday, June 10, 2015

Door Hanger


Hey there crafty people

It's Tasha here your go 2 crafty girl and I have a fun project I have created using craft supplies from Art of Craft.

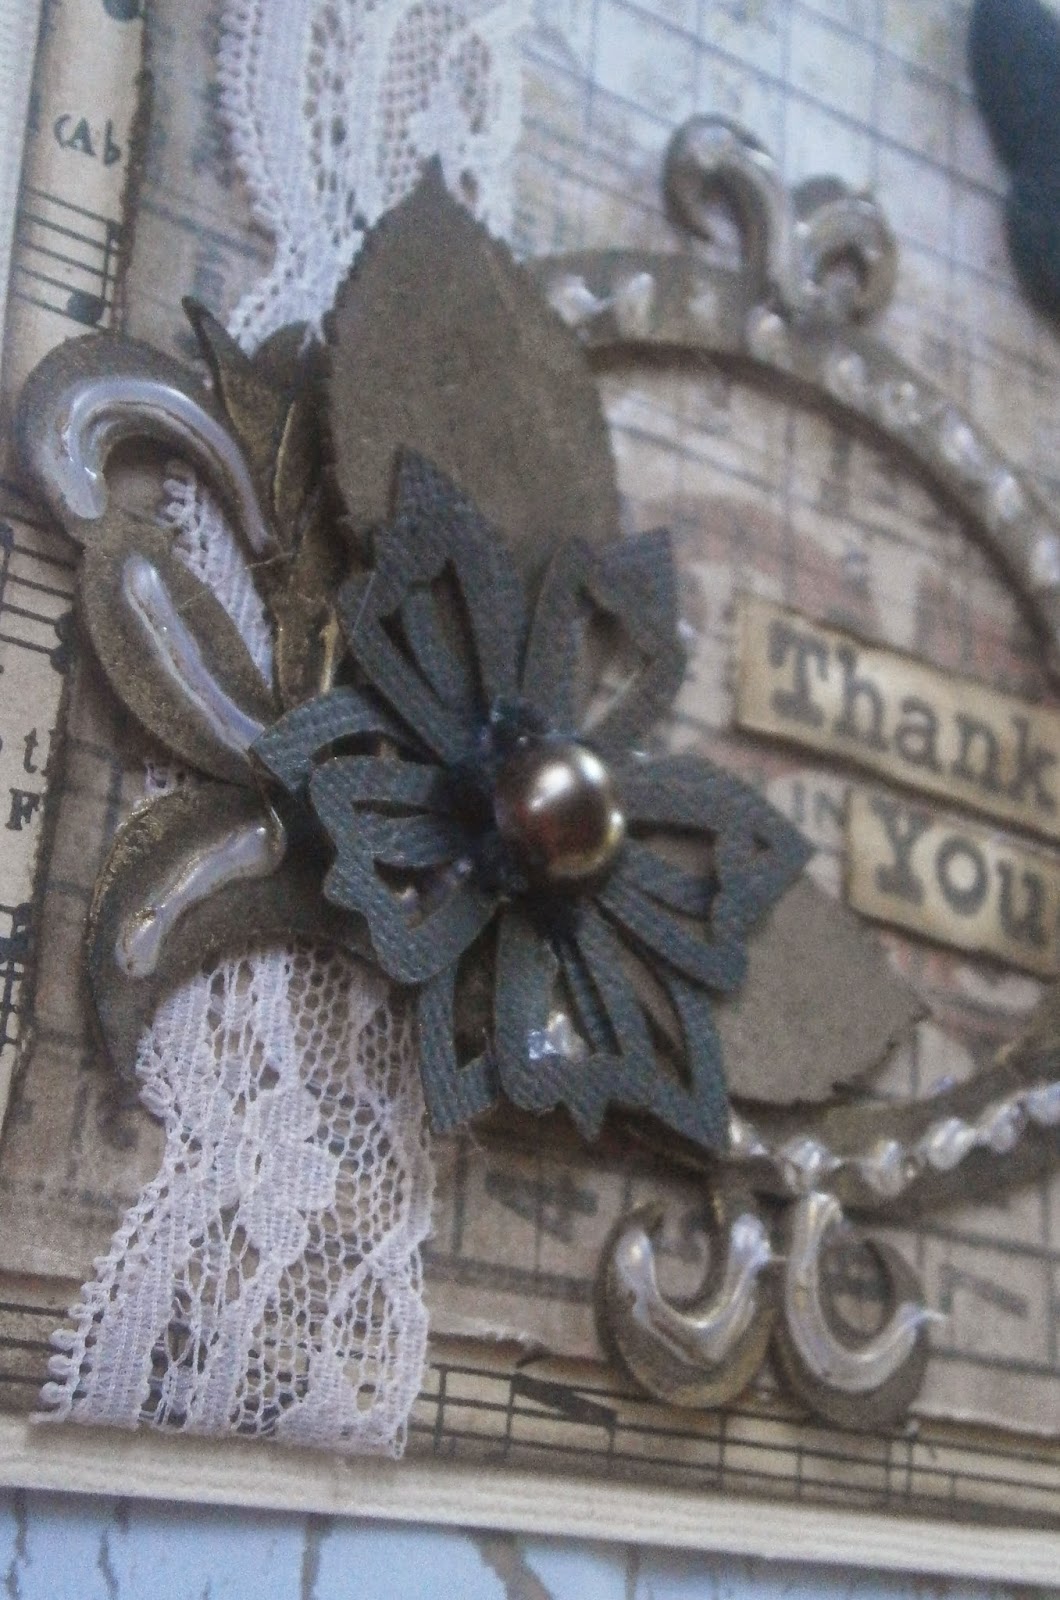
The paper I've used is from Graphic45 An Eerie tale Collection.  So beautiful and all the elements that come in the collection make all your projects gorgeous.  Graphic45 really do the business.

I

I took a raw door hanger and covered both sides with the designer paper.  I then well.....basically....I just went to town cutting and layering.
Fussy cutting is usually my pet hate but with these papers the images are just so vibrant and awesome it was fun fussy cutting and layering with other elements from the collection.

I cut that book plate out with a Tim Holtz sizzix die.  The word JOY I spelt out using alphas from the sticker sheet.  I also used Glossy Accents but you can't see very well in the picture.


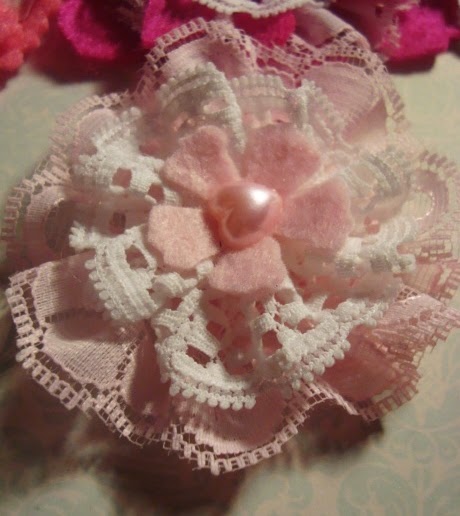
What goes perfectly with all your grogeous G45 creations???
Prima flowers of course!!!

Here are the supplies I used

Graphic 45 - An Eerie Tale - Banners 6"X12" Sheets 2

Graphic 45 - An Eerie Tale - Cardstock Stickers Alphabet 12"X12"

Graphic 45 - An Eerie Tale - Grand Illusion 12x12 Paper

PRIMA FELT Voila Die Cut Scroll Frames Black 3pc


Flower Mixed pack Roses 30pc + Leaves

Lara's Crafts Wood Arch Door Hanger 9-1/2"

Thanks for joining me today.  I will be back soon with more creations to share using al these awesome crafty goodies from Art of Craft

xx G2CG

Monday, June 1, 2015

CARDS AND CANVASES - PRIMA - EPIPHANY

Hey crafters
I have a few projects here to share with you and I have created them using some awesome supplies from Faith Pocock Craft Studios Ltd.


Here are 2 cards I have created using Prima - Epiphany Collection.
I have used so many different elements of the collection on each card to create theses fun layed...layouts.


I have used the wood icons, the Say It In Crystals, Ephemera, Flowers, 3d Stickers, Paper from the 6x6 paper pack as well as the Journaling cards stack.
So much goodness it makes it so easy to create something beautiful.


As well as the cards I also made some 6"x 6" canvases. I basically did the exact same thing on the burlap canvases a s I did on the cards.  Just layered up the different papers and ephemera.  I inked all edges with Tim Holtz Black soot.  Then I added all the gorgeous embellishments.


I loved working with all these gorgeous supplies from Faith Pocock Craft Studios Ltd.

For those of you in New Zealand
Make sure to leave a comment below to be in to win $25 to spend in Faiths store.

Click HERE to go to my FB Page where you can see what other crafty carry ons I get up too :)

Happy crafting :)\

Tasha xx

Saturday, March 28, 2015

Pocket Letter and Autumn Tag

Hey guys
 
This week I have 2 projects created using supplies from Imagine if....
 
First up is a Pocket Letter.  I have been hooked on these things since I heard about it so I wanted to create a pocket letter using these awesome chipboard Pieces.  If you are not familiar with the Pocket Letter Craze that is trending the crafty scene right now.I have more info on my FB page.
 
 
So as you can see on each card I have embellished and used some chipboard pieces that I have inked from Imagine if...


This is so much fun...you can create the Pocket Letters in whatever style you choose or if you have a swap partner maybe challenge yourself and create one in a style of their choice :)
 
 
My second project I have created an Autumn tag.  We have Autumn swaps going on over at my swap group - With All My Art and Soul Swappers.
And I thought these felt leaves and chipboard pieces would be perfect to use on mine :)
 
 
I love these autumn colours.
I inked my chipboard pieces up with ink and then with my finger I rubbed in some bronze and gold metallic paint.


So there you go guys so many things you can create with supplies from Imagine if...
 
This is actually my last post as a designer for Imagine if.... but certainly not the last time I use their great crafty goodies.  Just want to say a big thank you to my fellow design team mates...I have been so inspired by all of your work and am always amazed at the creations you guys come up with using what really is "cardboard shapes" :)
 
In the future Jo will be holding competitions to win spots as Guest Designers and I think that is an awesome opportunity for some of you talented crafters to show us all your amazing work.
 
Thank you so much Jo for this time I've spent designing for you and of course for all the awesome goodies you have sent my way to play with.
 
Be sure to click here guys to go directly to the Imagine if... shop and grab yourself some goodies.
 
Tasha xxxx


Thursday, February 26, 2015

Mini Layout


Hey there Crafters.
This week I wanted to show you this mini ...hmmm I suppose you would call it a layout.  I haven't decided yet if I am going to attach some ribbon on the top and make it a cute wall hanging or mount it on to a journal cover.


For this project I used heaps of laser cuts from Imagine if....
I painted them all white.
Above you can see..I have used part of a chipboard frame, some leaves,  some chipboard flowers.
The roses I also got from Imagine if...and the little leaves also.  I brushed some gesso with my finger over to tone the colour down a bit...now they blend in perfectly.
 
 
More chip board pieces on this side layered and tucked in.  I love how the chipboard pieces give dimension and interest to this creation.
 
 
I love this bird cage and bird in the middle.  After I had stuck everything down I thought it needed a little colour on the chipboard pieces so I just ran some ink over all the chip board pieces.  It caught the edges of the chip board pieces and really makes them stand out.
I have been enjoying working with these laser cuts.  Hope you get inspired and try some of these fun projects for yourself.
 
Don't forget to go check out all the ladies from Imagine if...and their amazing creations. 
Click on any highlighted words to take you directly to the Imagine if...website.
Or click HERE to go there now.
 
 
Happy crafting


Monday, February 23, 2015

Flowers - LOVE LOVE LOVE

Hey crafters today I wanted to share some flowers I made for a swap over at With all my art and soul swappers.
 
 
The theme for Feb. was Valentine and these are the flowers I created.
 
I used Felt and lace to create these blooms.
Cut the fabric out with my trusty Tattered Florals die from Tim Holts and then simply layered them up to create the lush fabric flowers.


I packaged them in a cello bag and added a doilie to the top.
 
I made this paper bow with a new die I got, and have been going crazy making bows out of all my scrap paper!!


Thank you for stopping by
Happy crafting everyone x


Friday, February 20, 2015

Cards - 3 very different cards

 
It's that time again crafters!!
Time to show you a couple of things I have created using supplies from Imagine if....
 
This week I needed to make some card so I got out my shoe box filled with Imagine if... goodies and got to work.  You will see I have achieved 3 very different looks using chipboard die cuts from Imagine if..
 
This first one is my favourite.
 
 
The first thing I did was distress and layer up some papers.  I find it hard not to add lace to everything so next the lace went on.
 
For the frame I just added some texture by using my hot glue gun.  I recommend painting over with paint and then using something like rub n buff to highlight the raised edges.  I just inked over mine and the glue resisted the ink...bit of a rookie move but I was still ok with the look.
 
 
I love how these die cut flowers and felt flowers add dimension to the card.  The chip board leaves I inked up with the same colour as the frame.
 
 
I felt the card needed something in the corner and so I added a felt moth and the we go one card down.
 
 
Above you can see I have a beachy theme going on.
I painted up the words with some blue acrylic paint and with my finger just brushed over the words with gesso.
 
I tied some string around the layered papers and then adhered some of these awesome laser cut sea shell embellishments.


 Lastly I have this fun birthday card for a special little girl.
I inked up the horse in rainbow colours.
 
 
 You can see here in the corners I have coloured up stars and adhered them as well as some felt die cuts.
 

I also added some sequins and stickles to add some sparkle...all girls young and old love sparkle :)
 
You can see the glittery glossy accents I put on the horse ran off the edge and kind of looks like it's poo'ing glitter lol so be sure to do that before you stick your embellishments on!!  Lesson learnt.
 
So there you go guys 3 very different looks using laser cut embellishment :)
 

Click on any of the links to be taken to the Imagine if... website.
Or click HERE to go there now.
 
Happy crafting
Tasha


Friday, February 13, 2015

Beautiful hanging butterfly

 
Hey crafters I am back with another project using supplies from Imagine if...
 
This week I created a hanging butterfly.
Bejewelled with bling, it sets of beautiful shard of sunlight.
 
Sorry I don't have photo's of the process I went through but I have had the worst time with my camera and lost all the photos I had taken.grrrrrrrrrr
 
 
This was a fun project to create.  I used a beautiful MDF Laser cut butterfly from Imagine if...
I painted it black, punched some holes in it and then adhered all these beautiful crystals to it.
I did the same to the smaller butterflies and then with some wire and beads I made these dandles and then I connected it all together.
 
I can't wait to hang this in the perfect place and watch it catch the sunlight and send out beautiful rays of colour.


Be sure to click on the highlighted links to take you Directly to Imagine if.....
 
Thank you guys for stopping by
Have a great week and craft on :)
Tasha xx