Friday, May 30, 2014

Altered Moustrap - notebook holder/fridge magnet

Hey there I just wanted to share with you an altered moustrap I created for my mum.  I adhered a magnet to the back so you can put it on the fridge and hold a photo or a memo pad or maybe your shopping list.

So easy and fun to make.


I painted the magnet with a couple of coats of lavender acrylic.  I then embellished it with a little bit of cotton lace, some ruffled trim.  The paper flower, little acrylic pearl bow and pearl trim I got from Retailgirl.  I love to embellish with all her goodies so be sure to come check her out.
I attatched a little heart charm and there you have it a cute gift for someone special.


Happy Crafting xx

Paper Bag Mini Albums - Baby girl and Baby Boy Albums

Hey there crafters I have just finished making these paper bag Mini Albums and wanted to share them with you.
They measure approx. 6"x6" and the paper I have used is from DCWV.
 
These are albums are fairly simple. Just focusing on big Photo mats to put those gorgeous pics of your sweet baby and the paper was so bright and fun I didn't think it needed to much embellishing.


And here is the baby girl album...basically made the same.  Loved making these the papers were so colourful.


Here's the video if you want to have a closer look.


Happy crafting everyone xxx


Thursday, May 1, 2014

Fairy Trinket Box - Tasha

Hey there crafters, I hope your week is going well and you have managed to get in some crafty time. It's an enchanted month at Imagine If...with some awesome projects to share.
Today I want to show you a memory box that I made up and embellished to create this cute shabby fairy trinket box.

The box measures 17cm x 15cm  and comes to you in 6 pieces that slot together so easily even I managed to do it :)


I first covered the assembled box with a coat of acrylic in the colour Manilla. Then covered the top and bottom, also the sides with designer paper from Tim Holtz (yum).  In our Dt Team kit we were sent several different fairies and I chose to use this cute one....The chip board pieces I painted with pink acrylic and then heat embossed them with some irridecsent embossing powder.  I also adhered some little seed beads and some hot fix crystals from Retailgirl


Above you can also see I used a metal fillagree and did the same thing I did with the chip board.

As you may have noticed from previous projects you would have clicked on I am obsessed with lace and crochet lace so it was only natural for me to include some of this goodness on this trinket box.  The trick for me is to know when to stop.  Here is a look at the side where I added some lacy yumminess and some of my handcrafted flowers.


Be sure to check out some of the amazing laser cuts at Imagine If...The possibilities are so endless...creating a look that you want to achieve is limitless :)

Be back soon with another creation and a vid of me making this Fairy Box.
https://www.facebook.com/WithAllMyArtSoul
http://www.pinterest.com/tashchanwai/
http://withallmyartandsoul.blogspot.com/
http://www.youtube.com/user/artsongandsoul
https://plus.google.com/u/0/

Bye for now Tasha xx


Monday, April 28, 2014

Altered Jar - Shabby Chic

Hey there
I have another Design Team Project for Imagine if.....
This is a little jar I altered and shabbied up.


The first thing I did with this jar was paint it with acrylic.  I just rougly brushed it on in 2 colours...marshmellow and manilla.
I then gave it a bit of a sand with some sand paper to give it a distressed look.


The laser cut chip board shoe I used from Imagine if is just so gorgeous and how I got the crackle effect was not with a crackle medium, it was buy giving it a light coat of acrylic (manilla) and then I heat embossed it with some Utee, followed by another coat of acrylic and then I blasted it with my heat gun and it created this crackle effect.


I had so much fun embellishing the rest of the jar with left over crochet doilie scraps.
Paper flowers,pearls, a beautiful little crochet heart my firend Kimi from Unique Scrappiness sent me.
I love the way this little jar came out and look forward to making more;


I have been using some really unique laser cut embellishments and I get them all from Imagine if....  Be sure to come and check the Facebook Page out and see creations from all the talented designers :)

Here is a vid...taking a closer look at this little altered jar.


See you all soon with another fun creation :)


Thursday, April 3, 2014

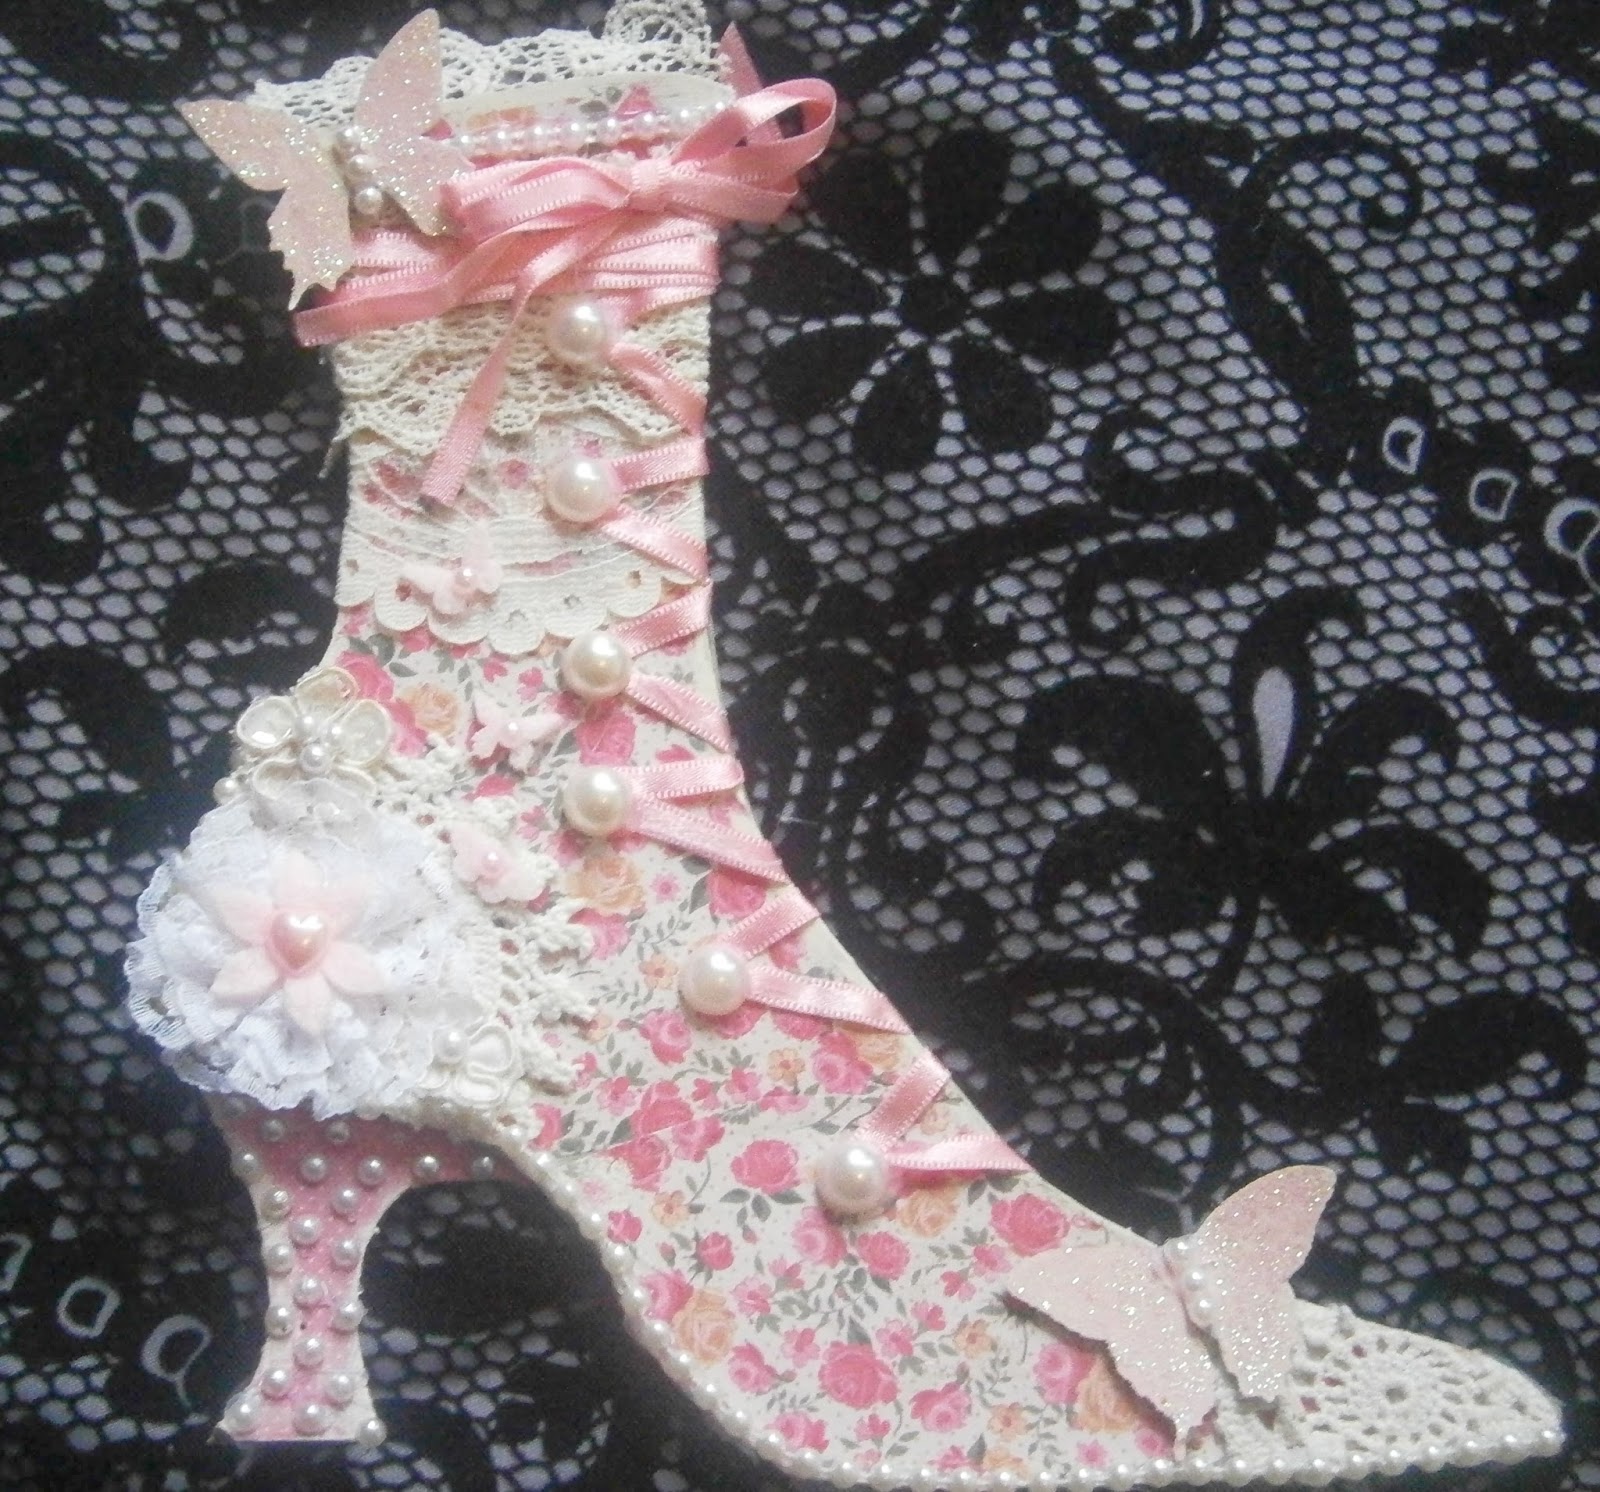
Shabby Shoe :)

 Hey crafters
I'm excited to share with you my first DT project.  This shoe came in 3 laser cut chip pieces that measures approx 19cm x 18cm.  I wanna tell you that I used alot of amazing tecniques but to be honest I actually just got all my crafty goodies together and had fun playing and embellishing,


I must say at first I had no love for this shoe as I had seen my fellow DT friends and they are all so unique and awesome I was a bit daunted but once I got into it, it was just fun fun fun.


I chose a shabby look for my shoe.  Covered it with some designer paper and then embellished the heck out of it with godies from my stash, some chip board butterflies, a felt flower and I just love those little tiny felt butterflies.

So many awesome embellishments and craft supplies to be had at imagine if...FIX designer craft supplies.  I am looking forward to sharing more creations with you.
Take care guys and keep it crafty
Tasha xx

Thursday, March 27, 2014

Wedding Album

 
Hey there
Over the last couple of weeks I have had the pleasure of creating a wedding album for a good friends sister.  A beautiful Tahitian bride with so many wonderful pics of those precious moments celebrated with all of her family.
 
I still have a way to go but I have completed some of the layouts and wanted to share them with you.
The bride loves butterflys so it was a given to use a lot of the papers from an older DCWV stack Mariposa.

I layered lace, paper and crochet doilies up...added some images from the Prima - Lyric paper.
Some Prima paper flowers with some doilies I cut from a larger crochet piece.


I cut out banner shapes and also layered them in little clusters on the page.
I also adhered a line from some mesh bling that I get from Retailgirl


This beautiful bling you see here are Hotfix Crystals that I also get from Retailgirl here in New Zealand


This next page I did similar things with layering...and added a dress form die cut from Tim Holtz.
with this I painted baby pink with some acrylic I then embossed it with Utee and then I rubbed some more acrylic over the top and gave it a blast with my heat gun...this gave it a shabby look similar to the effect you get with crackle paint. I then put some Prima - Say it in pearls...gorgeous :)


In this Layout I wanted to keep it pretty plain as the pics were so beautiful I didn't think it needed any extra embellishing.
 
The gorgeous bride with her groom looks amazing...embellished this layout with some die cuts and some applique.  Fairly simple compared to the other layouts.


Stay tuned guys as I share more of the layouts in this wedding album :)
Thanks for stopping by.
Tasha xx


Thursday, March 6, 2014

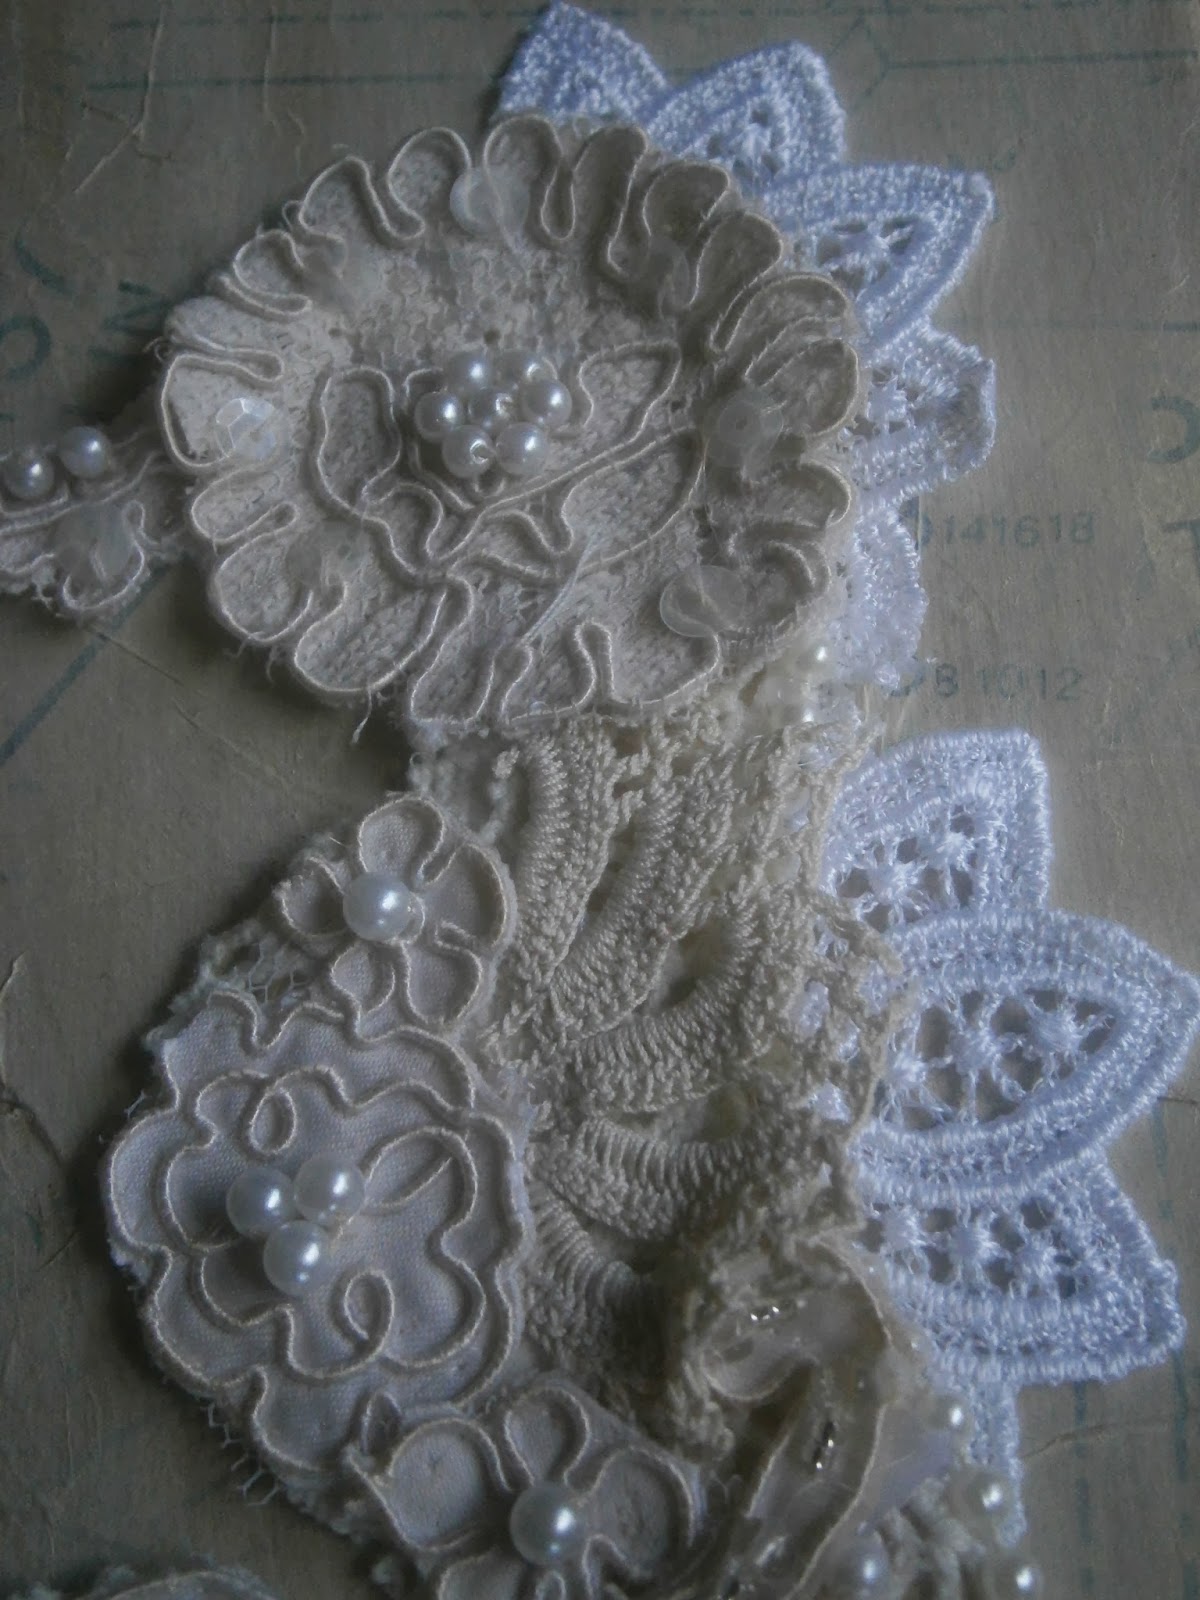
SHABBY SEAHORSE

Heya hope all is weel with everyone.  Today I wanted to share with you a DT project I created for Creative Craft Cottage.
This months challenge was The Year Of The HorseFirst of all I need to apologise for posting my creation sooooo late...my computer has been away getting fixed but now I am back on track :)
I must admit that this months challenge was certainly a challenge for me.  I just could not get any mojo going for The Year Of The Horse.  Finally I sat down and got busy but I must say I'm not sure if my entry is awesomely creative and thinking out of the box or "hey she had no idea what she was doing so she just played with all her yummy appliques and doilies :)
So here it is........
 
I started by sketching the outline of the seahorse onto some chipbard...cut it out and the literally had fun playing with the yummy applique's.  I haven't decided wether I am gonna incorporate this onto a mixed media canvas or maybe on the cover of a journal.  Here are some close ups.


So there we go guys another project for Creative Craft Cottage . Be sure to go and check out the other entries from all the talented designers and get involved with the challenges...so much fun :)
 
Click on these links to see more of my crafts and crafty carry ons ;0
 
Craft on :)
xx